Admin Centre is another handy tool for Administrator which is basically a combination of multiple tools. You can use such single tool instead of multiple tools. This needs installation and setup.
1)Gateway:The Gateway manages servers through remote PowerShell and Windows Management Instrumentation (WMI) over Windows Remote Management (WINRM).
2)WebConsole: The Web server component observes HTTPS requests and serves the user interface to the web browser on the management station. This is not a full install of Internet Information Services (IIS), but a mini Web server for this specific purpose.
Note: You install Admin Centre on Windows10, Windows 2016 or later.
Let us see how to install Admin Centre on Windows Server 2019.
Download the installer WindowsAdminCentre2306.msi and double click to initialize the installation.
Accept the license agreement and hit next button.
Leave the setting default hit next.
Leave the setting default hit next.
Select the options as shown in the below screenshot and hit Next.
Set the port number to default port number 6516.As this a lab we will select Self-Signed Certificate as shown in the below screenshot and hit Install button.
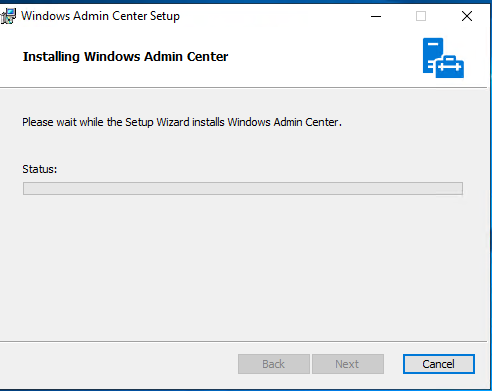
This will initiate the intallation Admin Centre.
Once the installation is done you see below screen.
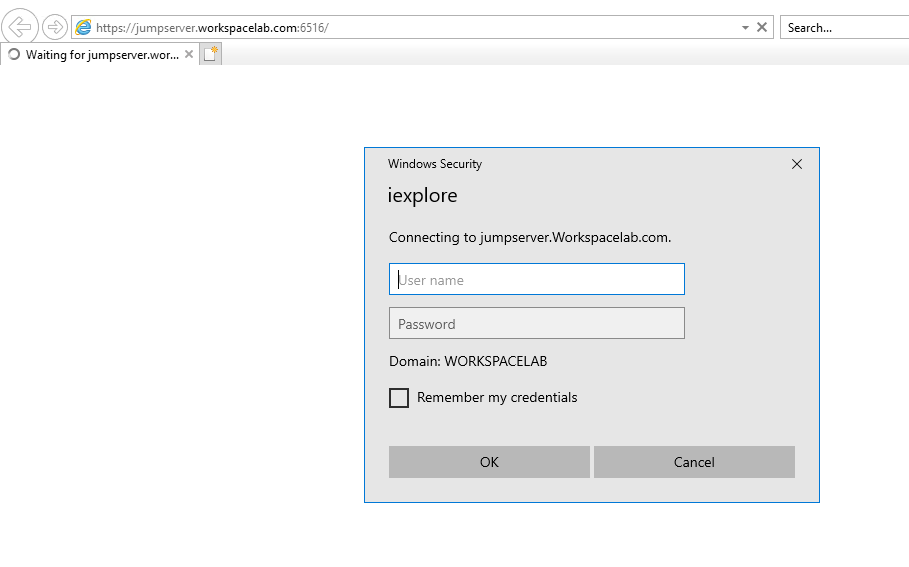
For this lab environment the url to connect to Admin Centre is https://jumpserver.workspacelab.com:6516 , the standard format of URL is https://servername.domainname:portnumber. Portnumber is what you set during the installation.
When you connect to Admin Centre URL, will be asked with the credentials as shown below.
If you are using unsupported browser you see error screen as below. here i need to install Edge or Chrome.


No comments:
Post a Comment